Friday, March 13, 2015

Springtime is here...

... and I have a sunburn to prove it! After being a lazy bum in the blogging department, Spring Break is the perfect opportunity to get back in gear.

I have been working on some projects, I just have not published much. The first one, is a pathway from the gate to my shed. Here are some pictures.

The finished path (ignore my finger):

 The path in the making:

 I also removed the lawn on a shady area of the yard where the lawn was struggling quite a bit. I am planning to plant some flowers and fruiting bushes. At the moment, it looks empty. But, think of it as a canvas, ready to be painted on (with flowers).
 I made sure to put a barrier to keep the mint and the oregano contained. Those two are almost unstoppable... but tasty. In the pots, a lime tree that is flowering and two little avocado trees.
 This is the view from the patio. The little azalea is blooming :-).
I am also trying to make an arch or frame with a bougie that I never really knew what to do with. At the moment, it looks horrible, but let's wait until it is full and blooming. It should be pretty nice.
 You see, there are some new buds. My phone's camera is pretty bad, as you can see.
Lastly, a few pictures of the yard in early spring. First, the pool and the chairs; they are waiting to get lots of use during the summer... can't wait! BTW, during spring break, I will build a small patio in front of the pool.
 The little blueberry "bushes".
 The other lime tree covered with flowers:
 Radishes, pea pods, some tomato seedlings... a mess, but tasty. I also have a box with lettuce, suffices to say that we may become rabbits soon. On the left, you can see my little azalea bonsai and a little olive tree. That one will very likely live his life in a pot.
Above, raspberry and blackberry "bushes". Below, close-up of the azalea flowers and a baby nectarine in our little tree.

Well, that's it for today. Happy building... or gardening! :D

Saturday, February 7, 2015

Spices ladder

After a few weekends of being unable to work in any projects, I was itching to work on something. I decided to tackle the spices ladder. I had one pallet and parts of another laying around, so I decided to do something with them. Plus, last year I let a cilantro plant flower and we have many little cilantro plants to prove it. So, why not?

The top shelves have strawberries. So, not only spices. As soon as I start seeing basil plants popping out, I will move them to the spices ladder.

Happy building!


Update: While this is a cute idea, the amount of dirt seems to be insufficient for healthy growth. As soon as the summer came, it became impossible to keep up with the watering. So, I would not build another one of these.

Thursday, January 1, 2015

New Year's Projects

Today, my wife and I decided to work a little prior to Baylor's game. I finished a pump house/tiki-bar for the pool and she painted the pallet loungers. Except for a 2x4 and a piece of plywood, everything came from pallets. Here are the pics:


The tiki-bar will be painted later. We have to watch the game now. Nervous!

Happy building!

Saturday, December 27, 2014

Pool-side Loungers

So, I ended up changing my mind with the pallet chairs. The backrest was way to laid back. So, after installing the pool, I decided we needed some pool-side loungers. Therefore, I transformed the pallet chairs into loungers. Now, I just need to paint them and find some nice yellow pillows and they will be ready to go for the summer.


Since my mom is visiting, they were thoroughly tested and were found rather comfortable. (I know, they are by the hot tub at the moment, but they will be by the pool when the summer comes).

Happy building!

Tuesday, December 23, 2014

Semi-in-ground pool

The project for this end of the year was to sink an above-ground pool about 20 inches in-ground. We wanted a pool but did not want to pay for an in-ground pool and the above-ground pool seemed a little too clunky for the yard. Therefore, we got a small oval resin above-ground rated to be sunk semi-in-ground. I took the shovel and dug it in. While digging, I bagged most of the dirt and posted an ad on CL, where someone contacted me to remove it. He got dirt, I got the dirt off the yard... win-win. Bagging the dirt took a lot of time, but clean-up was a breeze. During the spring we will do the landscaping. So far, so good.


We even have a rubber duckie in. The idea for the landscape is to remove some 2-3 ft of grass around the pool and put lemongrass around it. Then, maybe make a little concrete patio, where we can put the pallet chairs (that will be soon converted into pool loungers) and throw some mondo grass around. We'll see. For now, I will need some days to rest up after so much digging.

Sunday, November 30, 2014

Boat Rack

It was a fun long weekend. I finished painting the fish tank canopy. I will add a different post for that. I planted a lime tree I had in a pot in the ground. I painted a pot and a bench we have in the front patio.

The blue shutters are in the list of things to do. A new coat of paint is in their future. I cleaned the patio in the back yard. Put new mulch in some areas. But, at some point, my wife and I had an idea. I should build a rack for the boats. This is how my Sunday began. Right after church, I went to the Home Depot:
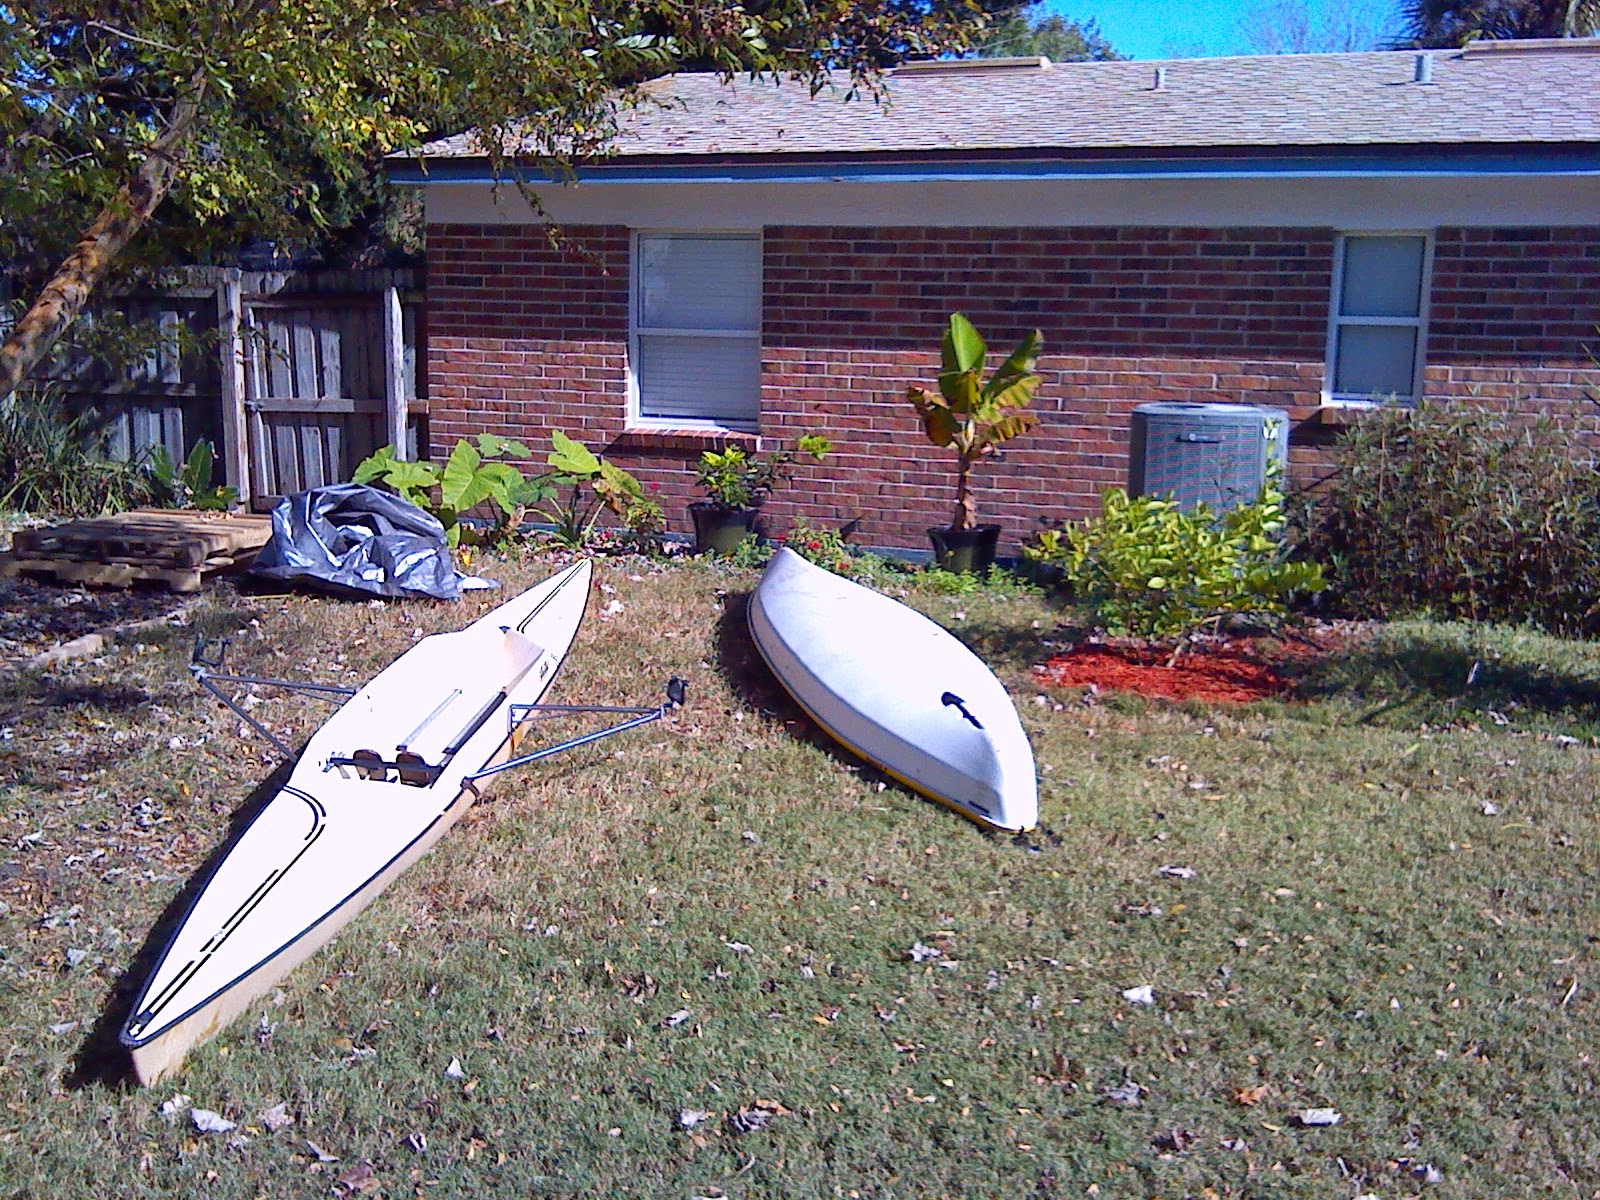
$78 dollars later, I had the wood to build it. I was thinking about welding one with metal, but wood is a lot faster. So, started loosely following the instructions in this video (the guy explains a lot of good stuff there). First, I pulled the boats out:

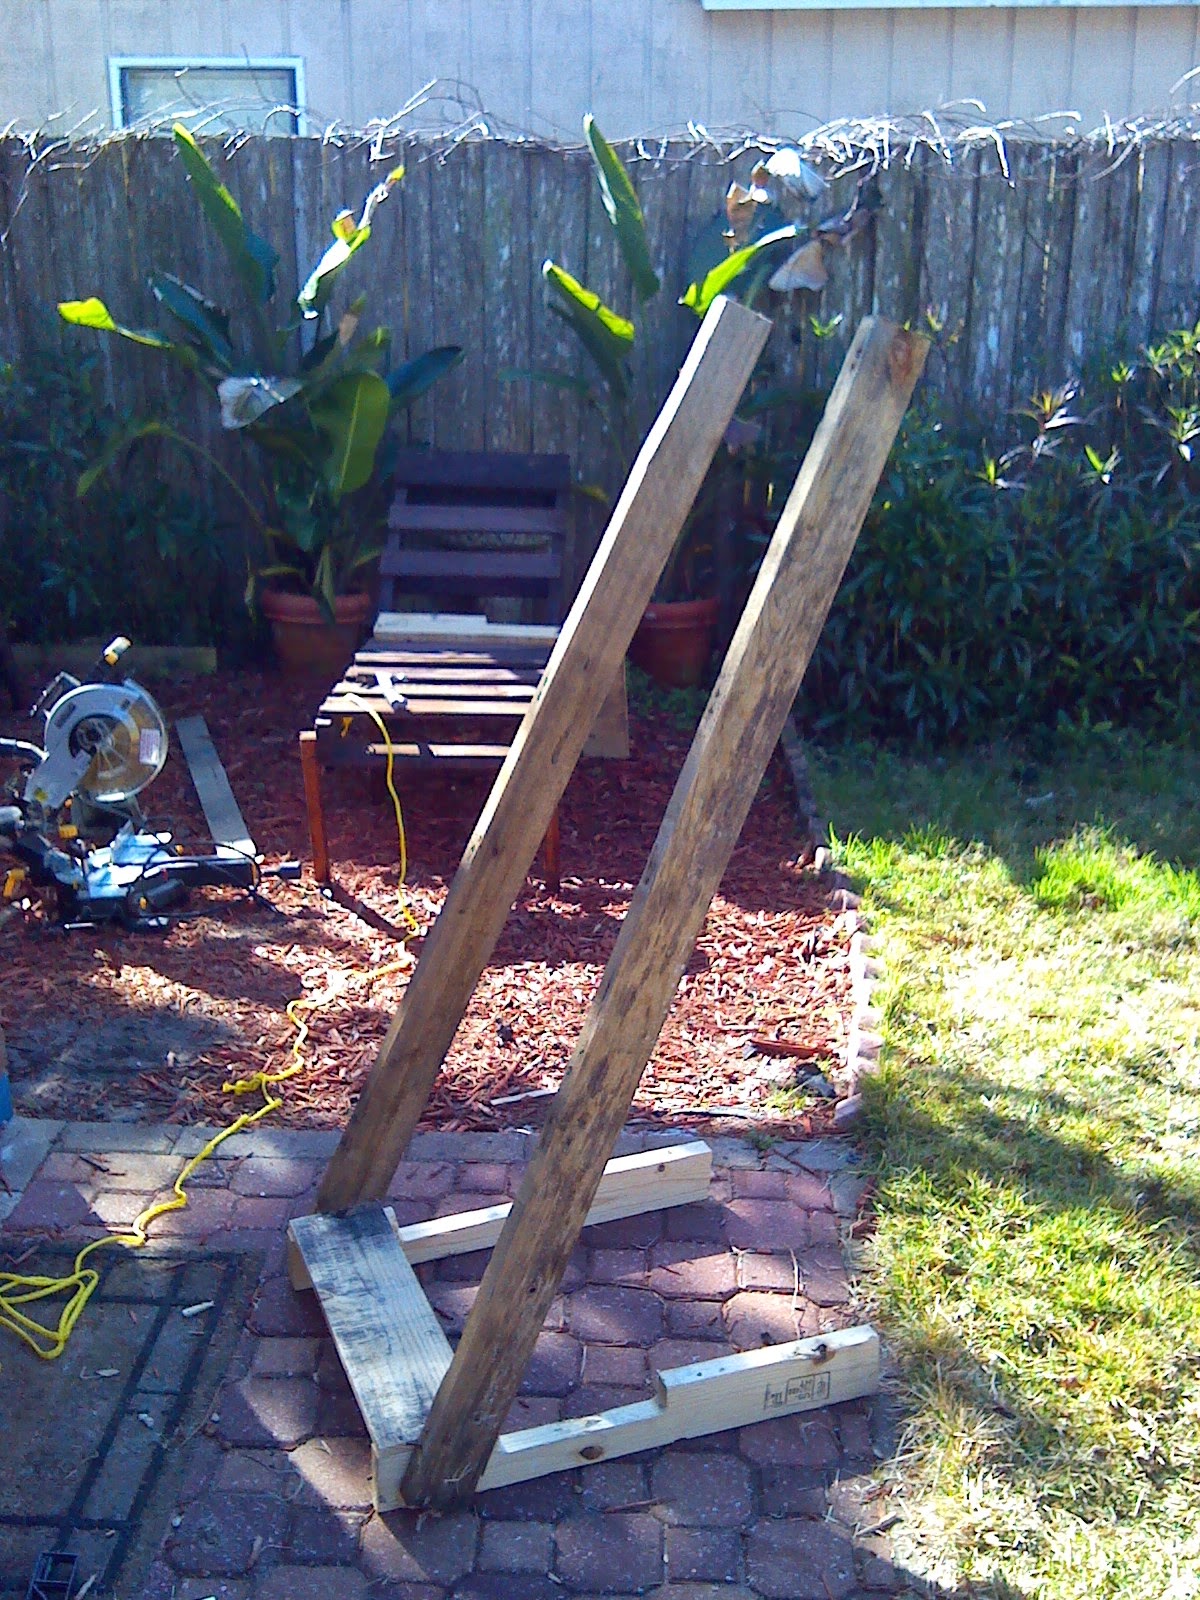
Then, I cleaned up a bit and started digging for the posts (I used 2x4's, as the weight is not too much)

 Then, I attached a cross-bar:
Repeated the process on the other side and the first couple of boats went on the rack. Cross-bars were attached for the third boat:
And the third boat can go on:
At this point, it is smooth sailing (for the rowboat...):
I cut the post only on the right side. Maybe at some point, I will make a roof for the rack. The night fell upon me, but I managed to throw the tarp on top of the rowboat. Next weekend, I may apply some mulch. This would serve the purpose of helping with the looks and preventing mud splashing on the bottom boats during the rain.

It may not be the prettiest, but it is way better than having the boats on saw horses :D

Happy building!


Sunday, November 16, 2014

Piano bench

Sing us a song, you're the piano man... My wife had a personal war with the bench we were using for the piano. It was big and clunky (and flowery), so I decided to build her one. I started it a couple of weeks ago, but I had been lazy and I finally finished it this weekend. Here are the details. The measurements of the bench are the following (click on the picture):

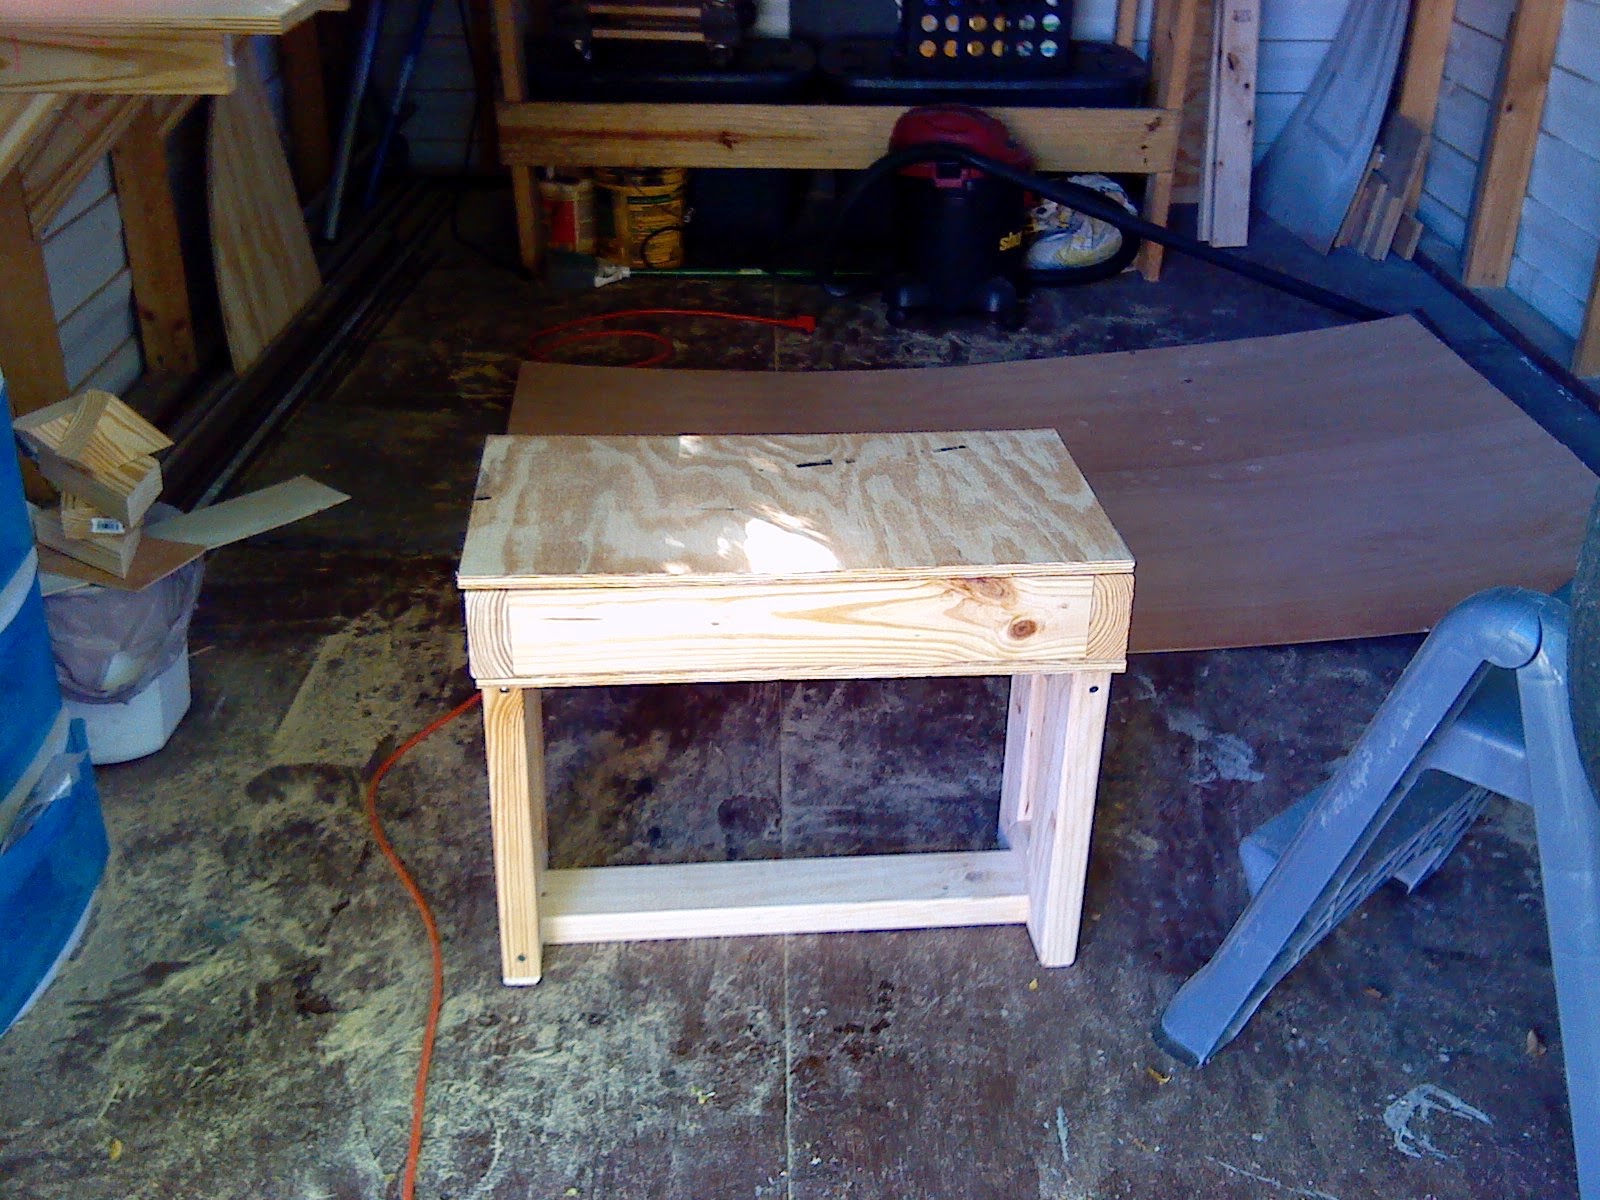
I had this piece of plywood from the hardware store. It is good to look at the refuse bin, they sometimes have good wood. 50 cents and a couple of 2x4's and you've got a piano bench. I cut two identical pieces of plywood, 13 x 24 (I made it a little wider, don't tell "she that must not be named"). I assembled two identical frames for the legs and attached them together with a bar cut to 21'' (the width of the 2x4's is actually 1.5 in).
.
Screws don't look nice, but they are time efficient :-). Then, I made a frame that will be the drawer box to store the music sheets... too bad I play by ear, most likely that box will always be empty.
 Then, it is just a matter of putting everything together:
 Attaching the hinges (got the thumbs up from the boss):
Sanding and painting:
Upholstering... well, I had pictures of that, but I messed it up big time, then I got frustrated, ripped everything apart, redid it, and did not take pictures due to my frustration. Anyhow, here is the finished product:

I still need a few felts to put on the bottom of the legs so that the bench slides easily. Other than that, the bench is finished.

Happy building!