Firstly, let me start by saying that if you are pondering about building a boat, do not hesitate. It is one of the most fulfilling experiences (in my opinion) to see your boat emerge from the pile of wood. In addition to this, you get the privilege to outfit your boat however you want to.
Secondly, if you are interested in building the Lumber yard skiff, don't be stingy and buy the plans from:
http://www.oldwharf.com/store/lys-plans. You will spend a couple of grands on the materials anyways, $50 for the plans won't break the bank, you will be supporting the intellectual work of the designer, and you will know that you are building a sea-worthy boat. I will add as many pictures and "tips" that I learned along the way, but I will not provide measurements to support my point. This is coming from one of the stingiest people you'll ever know, so there.
Third and last disclaimer: I built my boat and it turned out great, but I shall not held liable for any information you read in this blog. Read other sources and make sure you are comfortable with the process and the project you are embarking on (never better said) don't just take my word for it.
Let's be done with the disclaimers and let's get going with the build. After studying the plans and daydreaming about the build for a while, I went ahead and bought the marine plywood. If you can find affordable marine plywood in your area, don't skimp on this either. Some people have successfully built the LYS with lower grade plywood, but it is such a pleasure to work with this marine grade plywood, that I think it is worth the small price difference.
After coming home with the plywood, I cut the transom pieces and glued them together: I used a whole tube of adhesive for this part.
While the transom dried, I went ahead and traced and cut the sides. Then, I glued and screwed the buttblocks and that was the end of the first day:
Next day, I cut the stem post with the table saw and attached the beveled stern posts to the transom. I took care of the bevel on the plywood later with the electric planer, right before installing the sides and bottom. Then, I installed the frame at the point specified in the plans. It was the time to bend the sides. I had read horror stories about this process. It turned out to be easier than I thought. A few tip I learned from another builder: Fiberglass the buttblocks to prevent a rupture at this point. See Spookaloo's build at
http://www.stagboatworks.com for details:
This is a two-person job. My wife helped me out in the process. It all went smoothly. I actually bent it more than needed and had unwind the Spanish windlass a bit. That's a testimony to the pliability of the marine plywood. Some people reported cracks or crackling noises, I had neither.
After that, came the chines. This is a process I lost sleep over, and for no reason. All you have to do is cut the chines at the angle specified in the plans attach them and then plane the chine and the plywood to make the bottom sit flat on top. It is a lot easier than I thought. If you don't have an electric planer, you need to buy one for this project. It will be one of the tools you will use the most.
Now, bending these things is a workout. It is nerve wrecking because you are supposed to chisel out the buttblock before you start bending them. To do this part, I went ahead and used an angle grinder to chop up the buttblock then a chisel to remove the part needed to fit the chine.
The bottom is as easy as it can be. You have to set the plywood on top (can be done alone, but maybe you want to call a helper for this step) and trace the bottom. Leave it a little big, as you will plane it down with the planer once the bottom is completed. Once the bottom is traced, you cut it and glue-screw it in place.
After I completed the bottom I used marine filler to fair everything out. I got a little excited with the filler and applied it through most of the chine to have a seamless bottom to side transition. It was already flat, but I was planning on fiberglassing the whole bottom and sides, so I wanted that transition to be as smooth as possible. It paid off as the fiberglass cloth attached very nicely.
Speaking of fiberglass:
At this point, I went ahead and added the shoes. This step is not complicated, but I was not happy with my shoes, because one of them is not perfectly straight (by just a tiny bit). I did not realize that the wood was a little warped until I had finished attaching the shoe. I decided that this was very minor and did not warrant removing the whole thing and going through the hassle all over again. I am glad that I made this decision, as the boat tracks just fine as it is.
After this, I fiberglassed the shoes and applied two (or three, don't remember) layers of graphite to the bottom. This is nice stuff, much better (in my opinion) than bottom paint and probably even cheaper.
I painted the sides before flipping her over. My rationale was that in this way my line would be cleaner (as in no drips would go on the graphite). It worked O.K. I built some frames around her to flip her using some straps. It worked out.
This step should not be done alone. But, that has never been a piece of advice that I have heeded. I did it alone and I almost dropped her. I am glad it all went well... and I was onto the frames.
Attached the frames:
and the rub-rails:
It was time now to apply epoxy to the inside of the boat. I did a spit coat on the inside in hopes that this will increase the durability of the boat.
The screw holes were filled with marine filler:
and rod holders were cut on the frames:
Detail view of the rod holders:
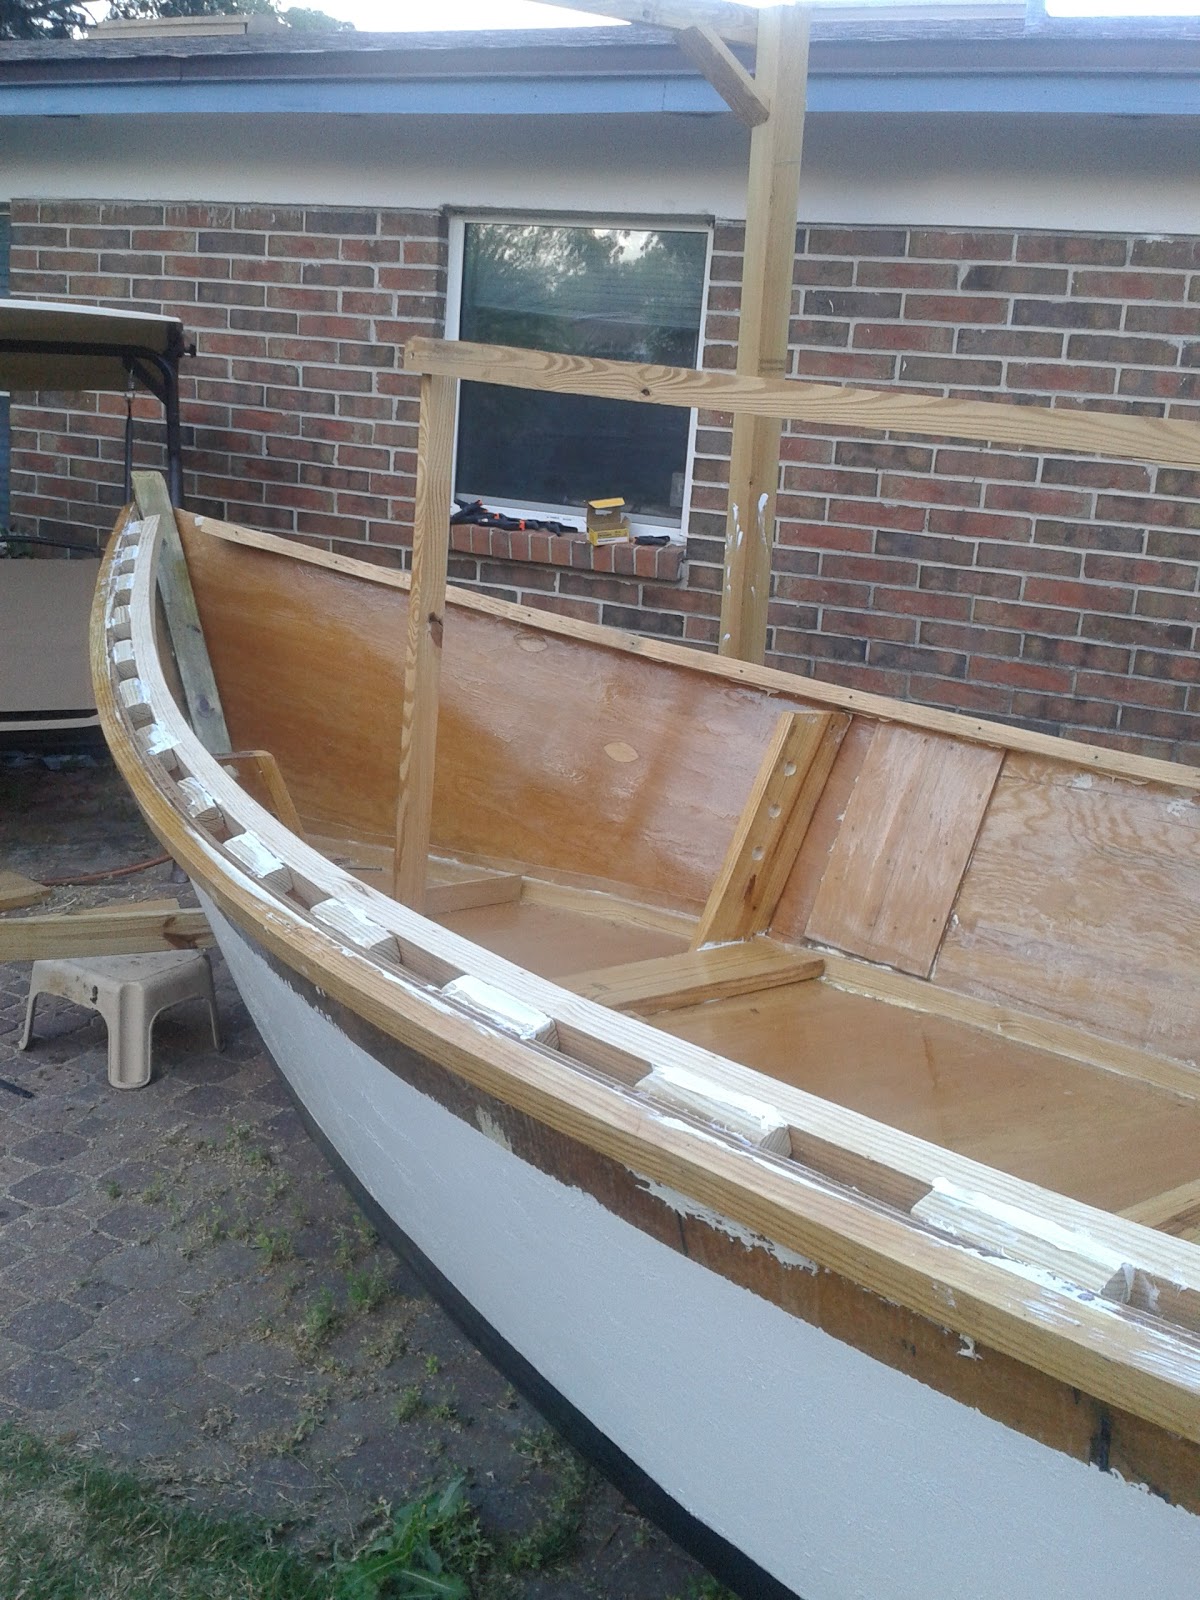
Here I departed from the plans. I did not like the idea of a big deck, as it robs room from the boat (unless you can comfortably walk on it, in my opinion). Instead, I did butted inwales which, in my opinion, work great.
Then, I added a breasthook. This breasthook could have been too small as my anchor roller barely fit on it, but it is good enough. I had enough room for the anchor roller and it takes no room from the foredeck.
Now it was time to the foredeck/flotation tank. I filled it with two-part foam and soda bottles to be USCG compliant in terms of positive flotation:
The fit on my foredeck was a little loose, but nothing that a little epoxy filler could not fix. After a little sanding, it looked great.
Then, it was time for the center console. The test fit went well, I was ready for the rear flotation tanks.
I decided to make two boxes in the back and fill them with soda bottles and foam. The reason I opted for boxes is because the work as steps to get into the boat from the dock and they serve as the posts where I installed my sitting bench.
All in all, I love the way the boat is very open and it has lots of sitting area.
Then came the time to put her on the trailer. When you have 5 or 6 guys willing to help you out, it is the easiest thing ever. We lifted her nose up, slid the trailer underneath and she was on it in no time flat. We moved her to her corner of the yard. At this point, the gate was not wide enough to accommodate for her, but I widened it up in a couple of hours of work. The boss, I mean, my wife asked me to build a concrete patio for the boat to sit on permanently. That will be one of the next projects.
Now, was all the fun stuff. Bimini top:
Sitting bench:
Motor installation:
Navigation lights:
Notice that my steering cable runs on port side as opposed to the usual starboard side. Well, genius here attached the steering cable to the wrong end of the helm and after getting tired of pushing the release notch on the helm and not getting the cable to move, I decided to flip the steering tube on the trim and run the cable on the opposite side. It worked out actually quite well, as it reduced the cable clutter on starboard. Maybe it's just me trying to see the positive in everything, but I like it better. Plus, it's my boat and I love her as she is, quirky... kind of like my wife and I, now that I come to think about it... anyhow, we were ready to go fishing.
So, after fighting one last round with the trailer lights (the connector is a little loose), we were ready to go.
And the important picture:
Happy building! I will be fishing for a while now :)