My wife and I have been regularly lifting weights in the evenings at the gym for the last year and a half or two years. This ended up being a little taxing as we would leave the gym late at night, still needing to cook dinner. So, we would end up going to bed late, and this became quite tiring.
We entertained the idea of lifting in the mornings, but the gym does not open until 6:30AM. This made it impossible to fit a good workout routine before work. Plus, my wife does not like locker room showers. Can't blame her, really. Anyways, one day I found this video:
and the whole home gym idea was born. Usually, it takes a few months of talking to convince my wife into these types of projects. However, for this one, she was sold on day one. (Lucky guy, right here!!!)
So, we had this family room, we were not using:
It was a nice room, but it was almost never used. So, on a Saturday morning, I started moving the couches around. My wife devised a plan and we set our living room up just giving up one couch:
And we had an empty room to build the home gym. First thing was building the power rack. I followed the instructions in the video:
Secondly, I had to make a deadlifting platform. This consisted of two 4'x8'x23/32" panels of plywood glued together for the base, a 4'x4'x3/4" fine sanded plywood panel for the center, and two (cut with a box cutter) 2'x4'x3/4" stall mats (bought a 6'x4' piece at Tractor Supply).
After that, I applied a coat of marine epoxy on top of the middle piece of plywood:
In this picture, you can see a bench press we bought on Craigslist. I cut it and rewelded it, so that it could fit inside the power rack. Then, I painted it black:
The plates and adjustable dumbbells were included with the bench press. Now, if you are going to deadlift with your spouse, you will be swapping weights often (unless you both lift the same, we don't). So, we needed a deadlift jack. I more or less used the dimensions of this one (dead lift bar jack) and welded it myself. The candy red paint, is the only leftover paint I had and since I am stingy... red it is!
This thing is awesome. It makes loading and unloading the bar a breeze (well, as much as it can be, you are still lifting the 45lbs plates).
I have my bike on a trainer, to do some cardio. Soon, we will get one for my wife.
and that's that. We just got a little curl bar and have pretty much everything we need for our workouts.
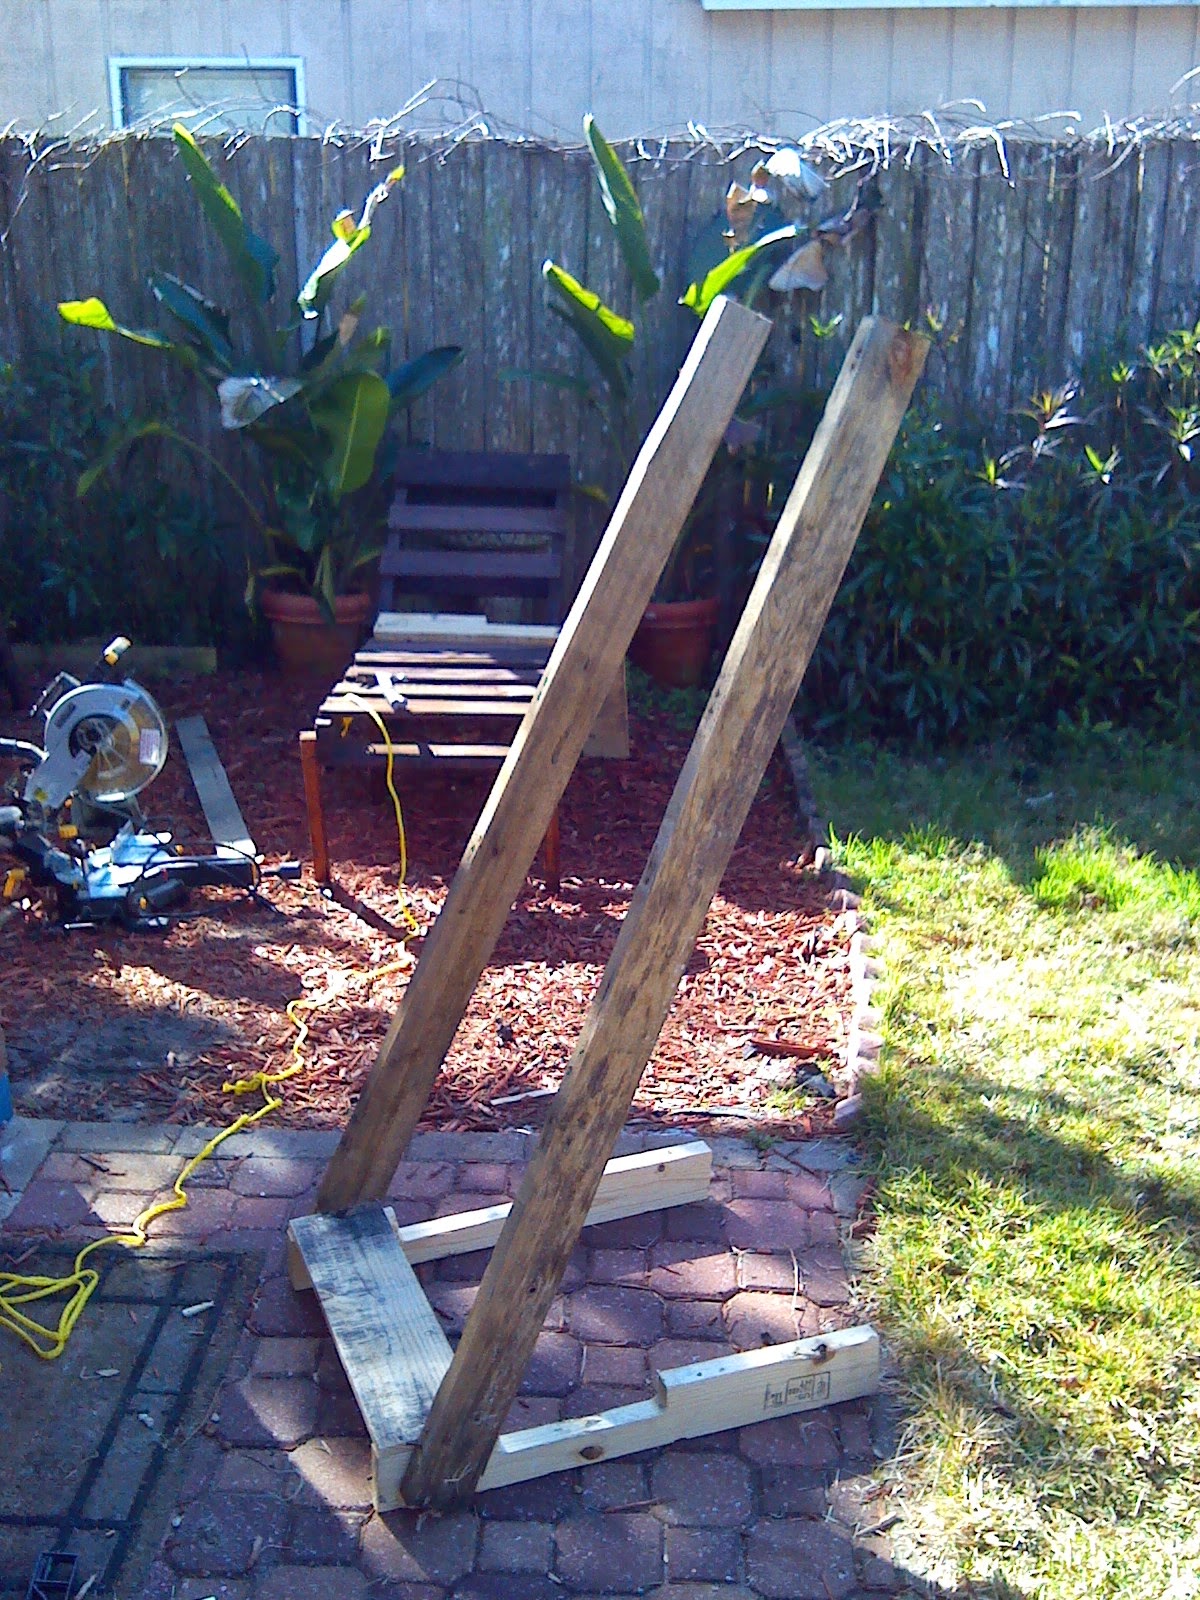
Last week I built a boat rack for the truck using an old bench press that I rescued from a neighbor's trash. This is the finished product:
An accounting of the materials to make sure that I did not need to go by the metal store. I ended up needing to use some galvanized conduits I had. I used muriatic acid to remove the zinc on the areas that needed to be welded. Never weld galvanized metal without removing the zinc. It will make for spotty welds at best, a visit to the ER in the worst case scenario.
This past week, I had to fix my boat. During the winter, I left the boat upside-down and it filled up with water and the weight of the water eventually broke it.
So, I cleaned up the cracks and applied some new fiberglass and a hand of paint:
The main idea of putting a swimming pool in the backyard was to be able to swim for fitness. I had several ideas on how to swim in place. Some were a little wacky, some were just out of our budget. So, this post should be entitled "Swimming treadmill on a budget" or something like that.
The ideas that didn't make it went from a full blown endless pool or swim-spa, to a current generator (Exerswim), going through a trolling motor installed in a box that would redirect the flow of water towards me. The idea of having a finger chopped off kinda took that one off the table... only after much consideration, I must say.
The desired attributes of the system were:
- Affordability,
- It had to mimic actual swimming, and
- The pool had to be small to not take the whole backyard. (This was my wife's request)
I believe that we obtained the three with our swim tether system.
So, I started out with the simplest possible idea and it seems to work. I drove a 3/4" galvanized steel EMT conduit in the ground. Then, I drilled a hole on the top and attached a "climbing" hook from the dollar store. To it, I attached two old bike inner tubes (27" wheels). I tied a not at the end and attached another hook. This hook attaches to an old belt that goes around my waist and voilà.
So, how does it work? Very well, I have been able to swim for several hours now (not at a time). It does feel like swimming, except for the breathing. You definitely need a snorkel because of the lack of a bow wave. All in all, it fits my needs for fitness and convenience.
Here is a little video of me swimming: (don't judge the technique)
I am enjoying a "laid back" spring break by sprucing up the yard. In the previous post, I showed you some of the spring action that is going on in the yard. I am in the process of building the patio for the pool. The pool-side loungers are already being used, as you can see:
That was not the use I had intended for them, but that was a good nap. While I was cleaning the pool, my wife (and her dog) took a nap on the chairs. I LOVE the Quickrete Path Maker. I used it for the path towards my shed. I used it for the patio:
Coincidentally, our HD store had a sale on concrete mix. The patio ended up costing us a little under $60 and a couple of days of work.
Today, I just dug some trenches by the side and put some edging down and added pine needles.
Now, I will put some solar lights around the perimter. I need to bring the chairs back to their place (in a couple more days, so that the concrete is more solid). I will separate some white bird of paradise plants that I have in smaller pots and will place them in two big yellow pots to put by the chairs. It should look good :)
While working, always remember your safety equipment (I know, I am bad about it too)
... and I have a sunburn to prove it! After being a lazy bum in the blogging department, Spring Break is the perfect opportunity to get back in gear.
I have been working on some projects, I just have not published much. The first one, is a pathway from the gate to my shed. Here are some pictures.
The finished path (ignore my finger):
The path in the making:
I also removed the lawn on a shady area of the yard where the lawn was struggling quite a bit. I am planning to plant some flowers and fruiting bushes. At the moment, it looks empty. But, think of it as a canvas, ready to be painted on (with flowers).
I made sure to put a barrier to keep the mint and the oregano contained. Those two are almost unstoppable... but tasty. In the pots, a lime tree that is flowering and two little avocado trees.
This is the view from the patio. The little azalea is blooming :-).
I am also trying to make an arch or frame with a bougie that I never really knew what to do with. At the moment, it looks horrible, but let's wait until it is full and blooming. It should be pretty nice.
You see, there are some new buds. My phone's camera is pretty bad, as you can see.
Lastly, a few pictures of the yard in early spring. First, the pool and the chairs; they are waiting to get lots of use during the summer... can't wait! BTW, during spring break, I will build a small patio in front of the pool.
The little blueberry "bushes".
The other lime tree covered with flowers:
Radishes, pea pods, some tomato seedlings... a mess, but tasty. I also have a box with lettuce, suffices to say that we may become rabbits soon. On the left, you can see my little azalea bonsai and a little olive tree. That one will very likely live his life in a pot.
Above, raspberry and blackberry "bushes". Below, close-up of the azalea flowers and a baby nectarine in our little tree.
Well, that's it for today. Happy building... or gardening! :D
After a few weekends of being unable to work in any projects, I was itching to work on something. I decided to tackle the spices ladder. I had one pallet and parts of another laying around, so I decided to do something with them. Plus, last year I let a cilantro plant flower and we have many little cilantro plants to prove it. So, why not?
The top shelves have strawberries. So, not only spices. As soon as I start seeing basil plants popping out, I will move them to the spices ladder.
Happy building!
Update: While this is a cute idea, the amount of dirt seems to be insufficient for healthy growth. As soon as the summer came, it became impossible to keep up with the watering. So, I would not build another one of these.
Today, my wife and I decided to work a little prior to Baylor's game. I finished a pump house/tiki-bar for the pool and she painted the pallet loungers. Except for a 2x4 and a piece of plywood, everything came from pallets. Here are the pics:
The tiki-bar will be painted later. We have to watch the game now. Nervous!